


The BMK DT Rx Module is the lightest remote dethermaliser (RDT) receiver designed for integration with host timers. It is compatible with most Black Magic and Red Magic timers, among others.
The receiver pairs seamlessly with our BMK B1 transmitters, available separately or in a bundle. Each transmitter features a unique code and can link to an unlimited number of receivers.

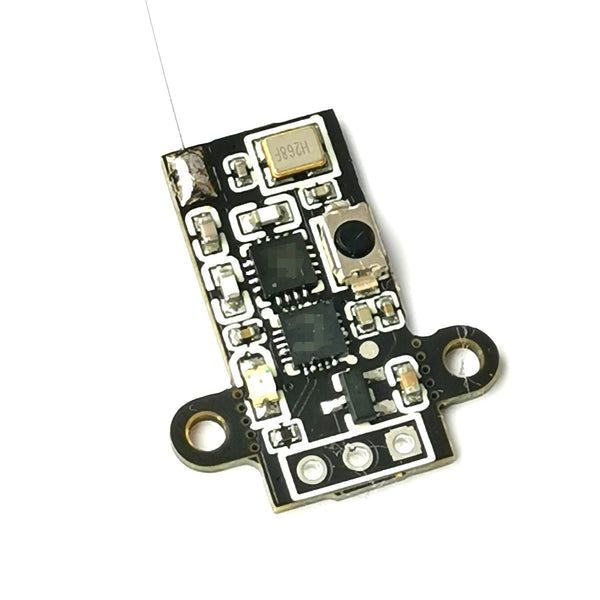
📦 Package Contents
- Timer circuit board
- Straight and right-angled pin headers
This module is designed to work even with host timers that do not support native RDT input.
In its default mode, it mimics a simple button press or interrupt, and supports 5 additional configurable modes such as standalone servo control or logic signal output.
Power-efficient at just 6mA, it operates between 3–15V and can also run directly from a 1S battery for standalone setups.

⚙️ Features
| Working Frequency | 434 MHz |
| Input Sensitivity | -116 dBm |
| Range | Typical: 2750m open field; 500–800m with B1 transmitters |
| Input Voltage | 3–15V |
| Output Signal Voltage | High Impedance or 3.3V Logic |
| Power Consumption | ~6mA (receiving) |
| Low Battery Warning | <3.0V (double LED flash) |
| Dimensions | 21mm × 10mm × 3mm (excluding mounting ears) |
| Weight | 0.7g (antenna included) |
🔧 How to Bind a Receiver
- Hold the onboard button while plugging in the battery.
- Release the button; the LED will flash at 5Hz.
- Press the DT button on your transmitter.
- The LED will turn solid red to confirm binding.
- Unplug and replug the battery to activate the receiver.
⚙️ Mode Settings
- Hold the onboard button while plugging in the battery (same as binding).
- Release the button; LED flashes at 5Hz.
- Press and hold the button again to cycle through modes—count LED blinks to select.
- Release at desired mode number. LED will flash rapidly 3 times and turn solid red.
- Unplug and replug to activate the selected mode.
Mode List:
|
1 – Interrupt Source / Button Emulator Default mode for host timers. S-pin is normally high-impedance, switches to logic low for 200ms on transmission to mimic a button press. |
|
2 – Logic High-Low S-pin normally outputs logic HIGH. Switches to LOW for 200ms on transmission—useful for DIY control applications. |
|
3 – Logic Low-High S-pin normally outputs logic LOW. Switches to HIGH for 200ms on transmission. |
|
4 – Standalone Servo Cycle Servo moves from one end to the other for 2 seconds and returns automatically. |
|
5 – Standalone Servo Toggle Servo toggles left-right each time the DT button is pressed—ideal for mid-air DT cancellation. |
|
6 – Standalone Servo Toggle (Tri-State) Servo cycles through left-centre-right positions with each press of the DT button. |
🛠️ Troubleshooting
- Transmitter LED is blinking rapidly: Replace the CR2032 battery with a quality one.
- Transmitter is not responding: Check or replace the battery.